Forging a hammer pendant
The sequence belows illustrates one way of forging a hammer pendant. This can be done in many ways, but this works fine for me.
All pics are .jpg, approximately 60-80kB for the fullsized versions. Use your Back button to get back here.
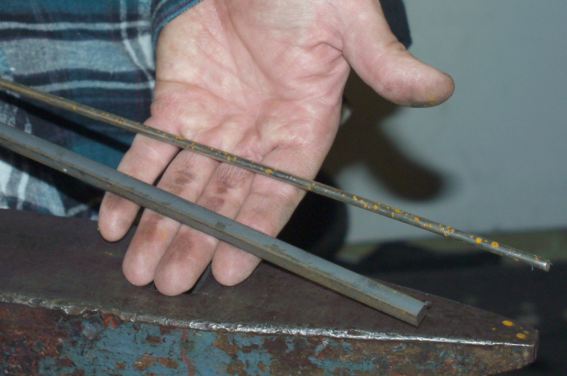 |
The material used here is 5 mm round (3/16") and 8 mm square (5/16"). If you want to make a pendant in another dimension, just scale up or down. |
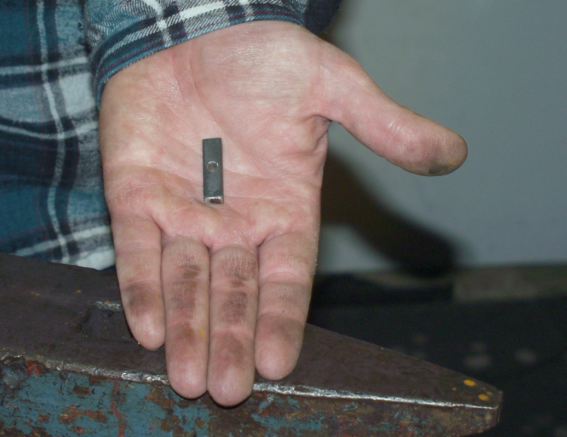 |
For the hammer head you need approximately 30 mm (1 1/4") of the square material with a drilled or punched hole in the middle. Hole diameter should be 3.5-4 mm (around 5/32"). There is some trial and error in finding the proper length, since this and the degree of deforming when hammering determines the final shape. Nice end surfaces and right angles is needed to get a good result, so some filing or grinding might be required. |
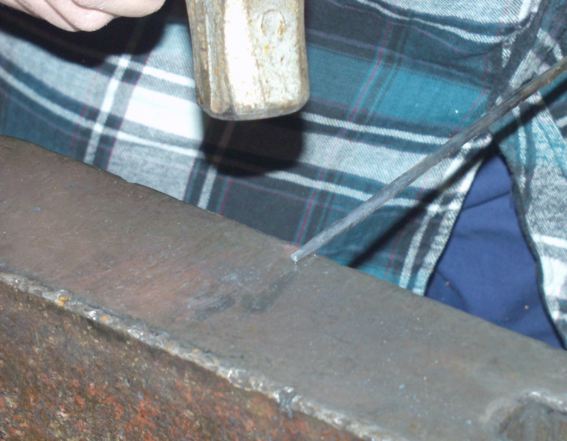 |
Next step is to draw out a taper on the handle material, preferrably with a small shoulder. Insert the handle in the hole previously made in the head, and adjust the length of this taper to get enough material protrusion for riveting the head. |
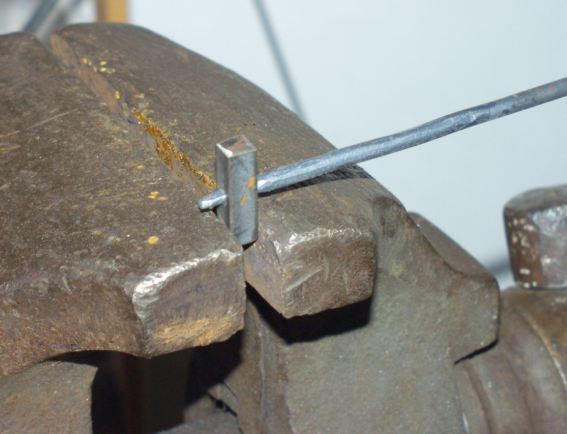 |
Then fasten the hammer head in your vise, insert the heated handle and fasten it by giving the handle material a couple of very light blows on the back end. This will hold the assembly together enough to allow for taking another heat needed for riveting. |
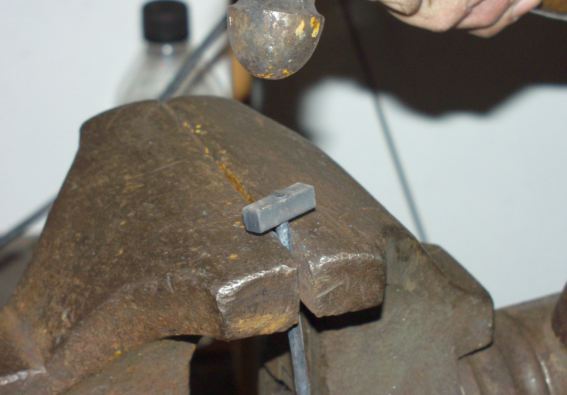 |
Form the heated rivet using very light blows with a ball pein hammer. If the handle is fastened in the vise so that the hammer head almost rests on the jaws, deforming the handle is avoided. |
 |
Then shape your hammer head as desired. A tip is to do this by heating the whole head and then cool one half of it before hammering, and repeat this for the other half. The hammer weight, blow force and straightness all control the result. A few trials may be needed to get this right. If the hammer looks no good, it can be salvaged by taking another heat and forming it into a nice double edged axe pendant instead! |
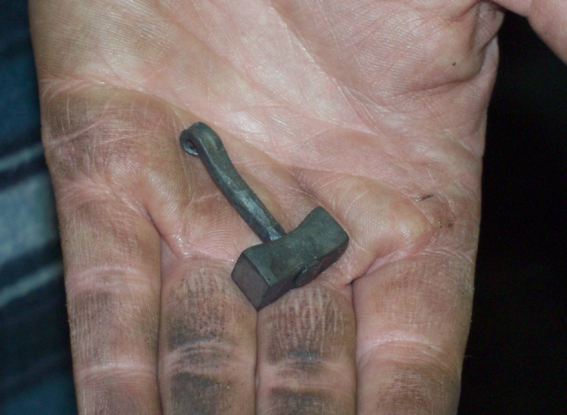 |
This is the result directly from the forge, after cutting of the handle to the desired length and forging a small loop to fasten a leather strap. |
 |
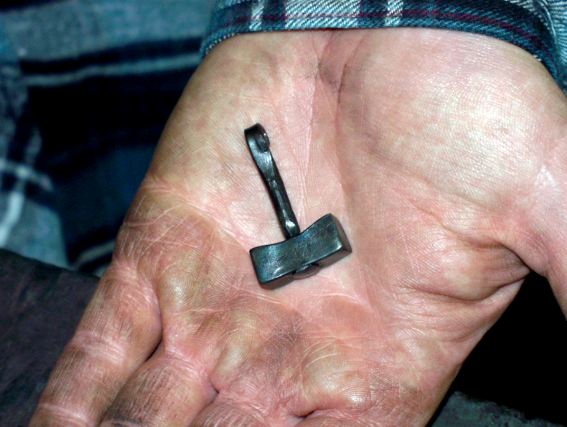
The final steps are wire brushing and linseed oil treatment. I usually heat the iron enough to get a nice black color, but without too much oxide before putting it into the oil. I then remove it from the oil while it´s still hot, and briefly cool it in water. Final cooling is done in air after wiping off excess oil and water. I´m sure there are many views on right or wrong here, but my impression is that this gives a hardening effect on the oil surface which is good for jewelry items. |
 |
All you need now is adding a leather strap and you´re done. If you want another version, a forged ring, approximately 25-35mm diameter (1-1.5") can be forged and attached to the hammer. This design has been found in iron age and viking graves, and was probably intended mainly as a gift for the deceased to bring with him to the other side. |