Forging a bottle opener
The sequence below shows how to forge a very rugged and user friendly bottle opener. This model has seen extensive use, and has been the fate for many a bottle of beer. This procedure is of course no challenge for the professional, but may be of interest for those of you starting your blacksmithing hobby or career.
All pics are .jpg, size 40-80kB. Use your back button to get back here.
 |
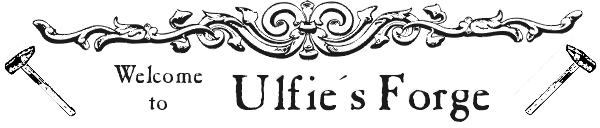
The material used here is 8 mm round (5/16"). |
 |
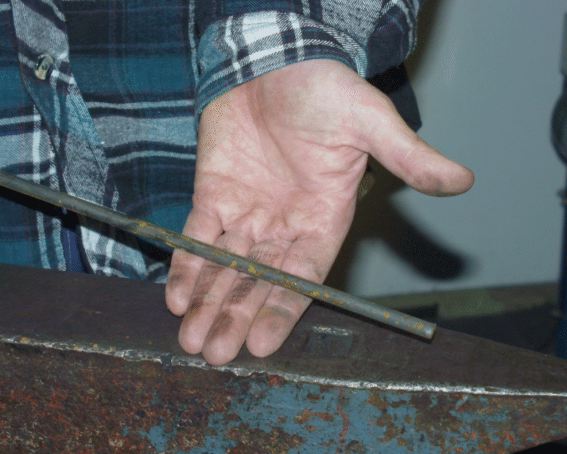
Start a taper - first make it square.... |
 |
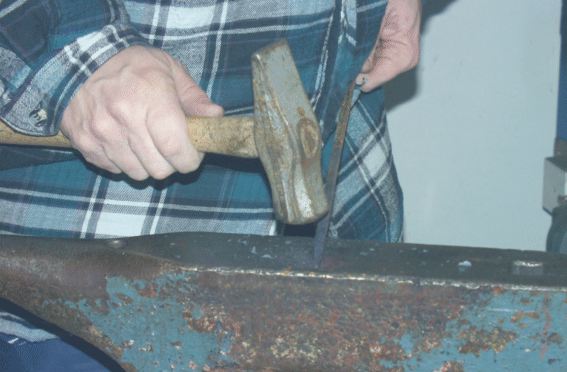
...then octagonal and finally round. |
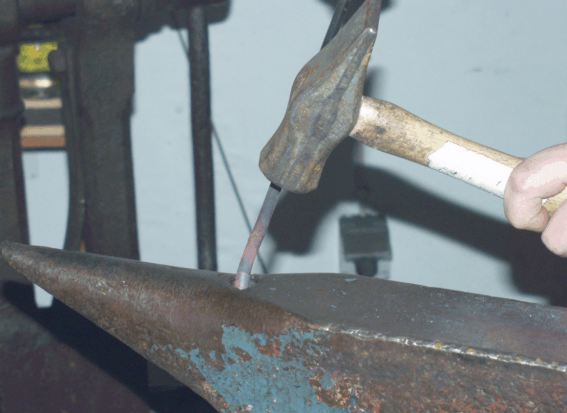 |
Start a bend some 20 cm (8")from the point. |
 |
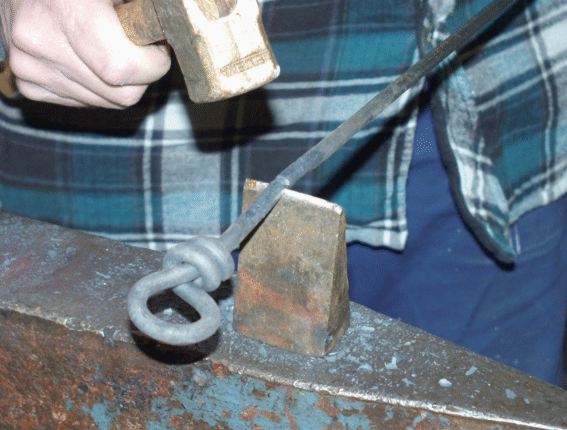
Then start forming a loop using your anvil horn or a mandrel as in the picture. |
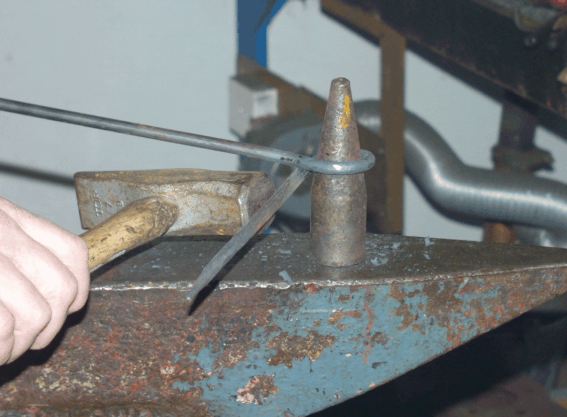
 |
Continue the loop and start winding... This will take a couple of heats. Ideally, you want your material that is to be winded hot, and the rest cold. Not so easy to achieve, though. The straight part should align with the center of the mandrel. |
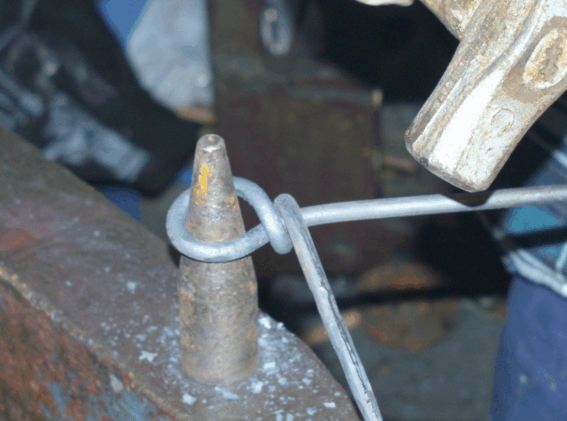
 |
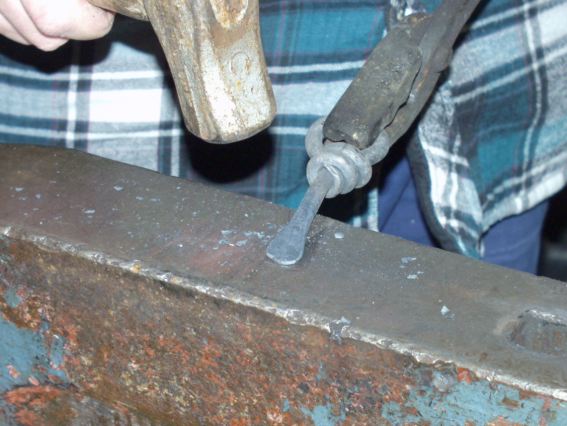
To get the tip in place you need to hammer against the anvil while turning your opener. A snug fit looks best. |
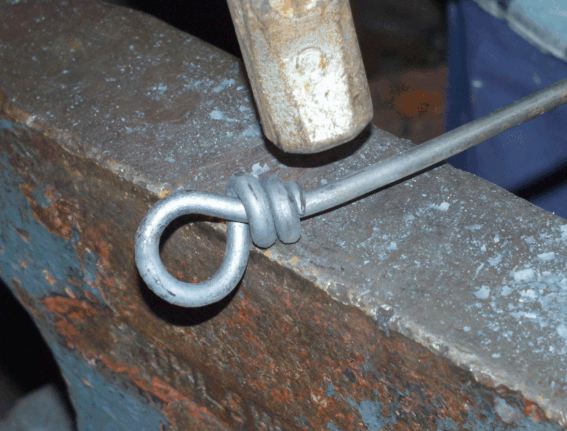
 |
Take another heat and cut of the desired length. Note that a copper hammer is used for this. Not necessary, but makes life easier for the hot cutter. |
 |
Flatten and spread the tip. Now is a good time to add your touchmark if you have one. |
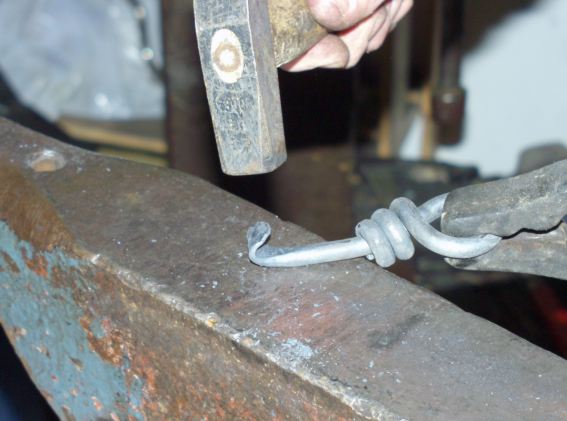 |
Then bend the tip as shown. I usually keep a bottle nearby for quality and function control. |
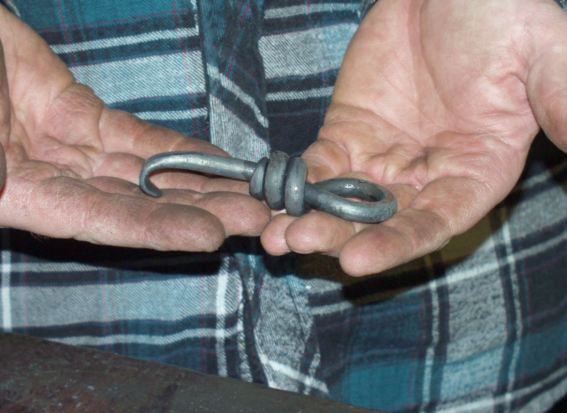 |
This is the result directly from the forge. |
 |
After wire brushing and linseed oil treatment you have a nice opener that will serve you well for many years to come. |